


You set your thermostat to 70, but the living room still feels chilly. You nudge it up again, and your furnace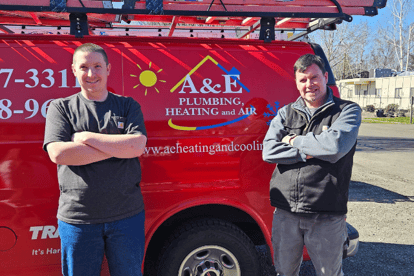 kicks on like it’s in a huff. The house warms up a bit, your PGE or Gresham Utilities bill creeps higher, and you’re left wondering if the system is tired, old, or both.
In most Oregon and Washington homes, the culprit isn’t the furnace — it’s the home itself. Tiny, often invisible air leaks let warm air sneak out and cold air drift in. Your system senses the drop and keeps running to make up for it. That means more wear, more energy, and higher bills — all for heat that literally disappears into the walls.
By the end of this article, you’ll know exactly where those leaks hide, which ones you can seal yourself, and when it’s smarter to call a professional.
Our Expertise: Why You Can Trust This Advice
At A&E Plumbing, Heating and Air, we’ve spent more than 17 years working in homes all across Oregon and Washington — from blustery Hood River and The Dalles to the damp, draft-prone neighborhoods of Gresham and Portland’s east side.
We’ve seen it all: uninsulated attic hatches acting like open windows, ductwork leaking like a sieve, and “sealed” windows that flap in the breeze. We know how heat moves, where it escapes, and, most importantly, how to keep it where it belongs.

1. Attic Doors and Hatches — The Great Escape Route
Your attic access might look innocent, but it’s often a giant hole in your insulation. If it’s not properly sealed, up to 25% of your home’s heat can slip into the attic — where it does absolutely nothing for your comfort.
People often assume that because the hatch is closed, it’s sealed. Unfortunately, wood against wood doesn’t stop airflow.
DIY Fix:
- Add foam weatherstripping around the hatch frame.
- Install an insulated attic cover or make one from rigid foam board.
When to Call a Pro:
If your attic insulation looks patchy or compressed, or you can feel warmth rush out when you open the hatch, a professional can check for air balancing and insulation gaps that might be undermining your furnace’s efforts.
2. Ductwork — The Silent Energy Thief
If one room always feels colder (or hotter) than the rest, your ducts may be to blame. According to the U.S.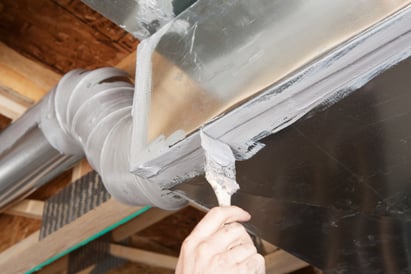 Department of Energy, 20–30% of heated air is lost through leaks before it ever reaches your vents. That’s money you’re literally pumping into crawl spaces and attics.
DIY Fix:
- Use UL-rated metal duct tape (not standard silver tape) to seal visible joints.
- Wrap exposed ducts with insulation sleeves to reduce heat loss.
When to Call a Pro
If ducts are buried in insulation, located in a crawl space, or visibly corroded, professional duct sealing and airflow testing can restore efficiency and even out temperatures room to room, especially in sprawling homes from Troutdale to Fairview where duct runs tend to be longer.
3. Wall Penetrations — The Sneakiest Leaks in the House
Every cable line, faucet, and pipe that passes through a wall leaves a small opening. One gap doesn’t seem like much, but dozens of them add up to a constant draft that makes your furnace chase comfort all day.
DIY Fix:
- Seal around pipes, vents, and cable lines using expanding foam or silicone caulk.
- Don’t forget under sinks, laundry hookups, and behind appliances — spots that rarely get checked.
Sealing these hidden leaks can reduce heating costs by 10% or more, and it’s one of the easiest, least expensive weekend projects with a big payoff.
4. Recessed Lighting — The Warm-Air Chimney
Recessed can lights (especially older ones) are often installed directly into the ceiling cavity, creating a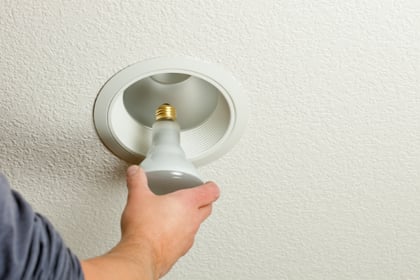 mini chimney that pulls warm air upward into the attic. Multiply that by six or eight fixtures, and your heat loss adds up fast.
DIY Fix:
- Upgrade to LED retrofit kits that fit snugly and produce less heat.
- Add foam gaskets or light covers that are safe for insulation contact (look for “IC-rated”).
When to Call a Pro:
If you have many recessed lights or high ceilings, an energy audit or blower-door test can pinpoint how much heat you’re losing and whether additional insulation is needed above those fixtures.
5. Windows and Doors — Everyday Offenders
Windows and doors get blamed for drafts — and honestly, they often deserve it. Over time, seals dry out, hardware loosens, and frames shift. Even a tiny gap can let in a steady stream of cold air that your furnace constantly compensates for.
DIY Fix:
- Re-caulk along the window trim where gaps appear.
- Add adhesive weatherstripping around doors and operable window sashes.
- Hang thermal curtains or insulated cellular shades to create an extra barrier.
When to Call a Pro:
If you can feel air movement near closed windows or see daylight around a door, it’s time to schedule a reseal or glazing repair. Full replacements are a last resort — often, small adjustments are all that’s needed to restore performance.
6. Chimneys and Fireplaces — Cozy but Costly
A fireplace feels like the heart of the home in winter, but it’s also a major escape route for heat. Even with the damper closed, warm air rises through the chimney and cold air sneaks down. Studies show an unused, open flue can leak up to 8% of your home’s total heat.
DIY Fix:
- Use a chimney balloon or flue plug to block airflow when not in use.
- Close glass doors firmly after the embers die out.
When to Call a Pro:
If your damper no longer seals tightly or you rarely use the fireplace, a top-sealing damper installed by a technician can lock heat in and drafts out year-round — a smart upgrade for older homes around Gresham and Sandy.
7. Electrical Outlets on Exterior Walls — Small Gaps, Big Impact
Outlets and switches on exterior walls might seem harmless, but they often leak air straight through the wall cavity. On a cold day, place your hand near one — you’ll probably feel it.
DIY Fix:
- Add foam outlet gaskets behind the plates.
- Insert safety plugs into unused sockets to reduce airflow.
It’s a small, affordable fix that can make a noticeable difference in comfort — especially in older Pacific Northwest homes where insulation isn’t always consistent.

What to DIY and When to Call in Backup to Fix Heat Leaks
It’s tempting to think, “I’ll just do everything myself,” but some upgrades are best handled by professionals who have the right testing tools and materials.
| Type of Task | Typical Tasks | Approx. Cost | Time to Complete | Skill Level | When to Choose This Option | Expected Impact on Comfort & Energy Bills |
| Weatherstripping & Caulking | Seal small gaps around doors, windows, and baseboards. | $15–$50 | 1–2 hours | Easy | You can feel drafts near windows or doors. | Reduces noticeable drafts and energy loss by 5–10%. |
| Outlet Gaskets & Flue Plugs | Install foam gaskets behind outlet covers; add chimney balloon or plug. | $10–$40 | 30–60 minutes | Easy | You feel air movement around outlets or notice cold air from fireplaces. | Improves comfort in draft-prone rooms; minimal cost, high payoff. |
| Attic Hatch Insulation | Add insulation cover or foam board to attic door. | $30–$80 | 1–2 hours | Moderate | You have an uninsulated attic door or feel warmth escaping upward. | Can prevent up to 25% of attic heat loss. |
| Sealing Accessible Duct Joints | Apply UL-rated metal duct tape or mastic to reachable ducts. | $20–$100 | 1–3 hours | Moderate | Rooms heat unevenly or ducts are exposed in a basement/garage. | Cuts duct leakage up to 10%; evens out room temps. |
| Professional Duct Sealing & Air Balancing | Pressure-test, seal, and insulate full duct system. | $400–$1,200 | Half day | Pro Required | You suspect leaks in hidden ducts or have major temperature differences between rooms. | Reduces air loss up to 30%; major boost in comfort and efficiency. |
| Insulation Improvements | Add or replace attic, wall, or crawlspace insulation. | $1,500–$4,000 | 1–2 days | Pro Required | Home struggles to maintain temperature or bills keep climbing. | Cuts heating/cooling costs up to 25–30%. |
| Thermal Imaging or Blower-Door Test | Identify unseen air leaks throughout the home. | $150–$400 | 1–2 hours | Pro Required | You want data before investing in upgrades. | Pinpoints leaks precisely for targeted sealing. |
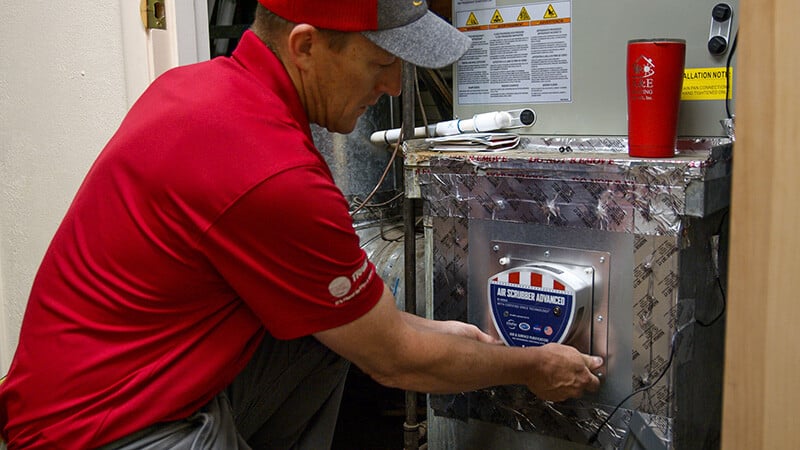
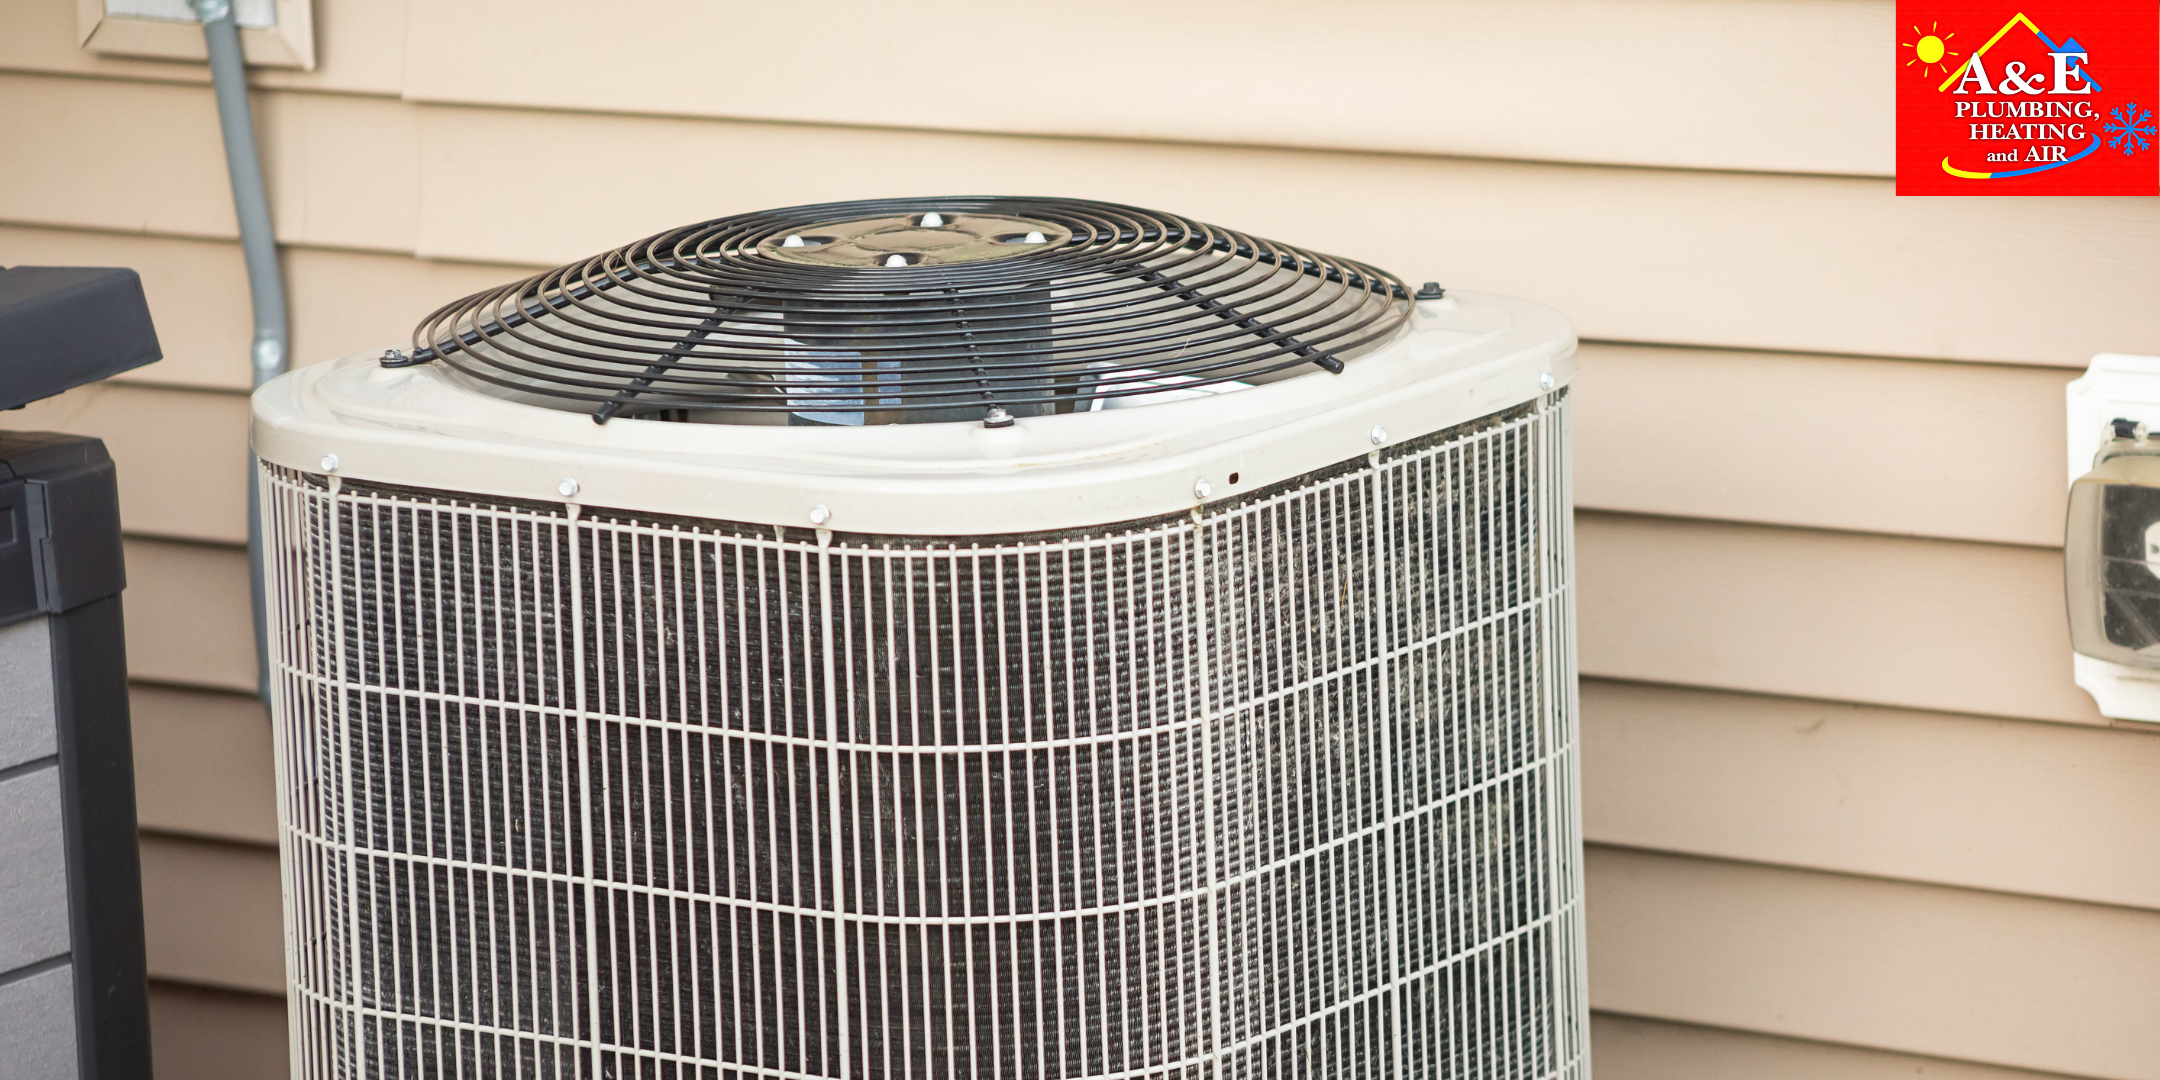
| HVAC Efficiency & System Tune-Up | Inspect, clean, and balance system for proper airflow. | $150–$300 | 1–2 hours | Pro Required | Furnace or heat pump runs constantly or unevenly. | Restores efficiency; can reduce operating costs 10–15%. |
Save Energy, Stay Warm, Spend Less
When you first started reading, you might’ve been feeling a mix of curiosity and frustration wondering why your home never seems quite as warm as it should be, or why your furnace runs nonstop when the thermostat barely moves.
At A&E Plumbing, Heating and Air, we’ve spent over 17 years helping homeowners across the Columbia River Gorge, Portland Metro, and Gresham reclaim comfort and efficiency one fix at a time.
Experienced HVAC professionals spend years studying airflow and insulation because every home tells a different story — but now you have the knowledge to start rewriting yours.
The next step? Keep learning. Learn how to spot hidden energy waste right on your monthly bill — read our guide: How to Read Your Utility Bill and Spot Hidden Energy Waste
Topics:


